Quick Start Guide
Integration Into a .NET Desktop Application
How to Integrate List & Label in Four Easy Steps
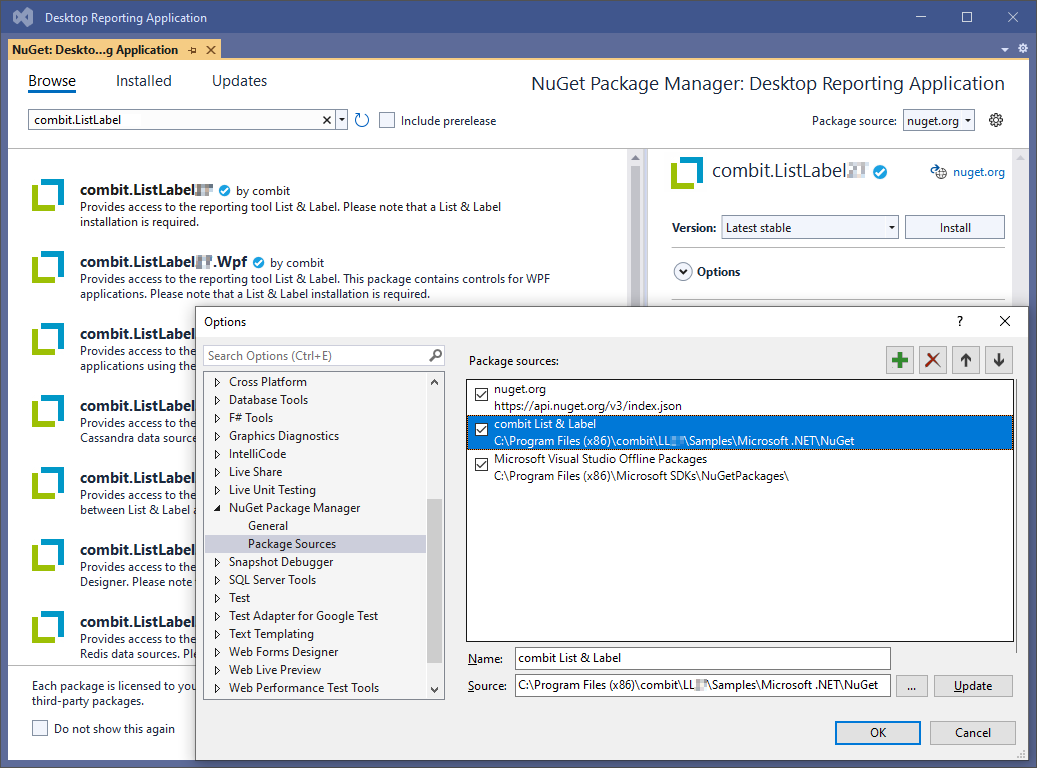
Add NuGet Package
Add the List & Label NuGet package to the existing .NET desktop application:
Create the List & Label Object
Add the combit.Reporting namespace to the desired code file and create the List & Label object:
// adding the combit reporting namespace
using combit.Reporting;
...
// creating the List & Label object
using(ListLabel LL = new ListLabel())
{
    // do something with LL
}
Define the Data Source
Define the desired data source for List & Label based on a data provider, for example: access to a Microsoft SQL server database:
// adding the combit dataproviders namespace
using combit.Reporting.DataProviders;
...
// create suitable dataprovider - e.g. for accessing a Microsoft SQL Server database
SqlConnection connection = new SqlConnection(Properties.Settings.Default.ConnectionString);
SqlConnectionDataProvider sqlProvider = new SqlConnectionDataProvider(connection);
...
// attach the created dataprovider to the List & Label object
LL.DataSource = sqlProvider;
Start the Designer
Directly invoke the Design() method of the List & Label object in order to launch the integrated designer. Afterwards, you can print the created project directly with the Print() method, or export it:
// open the designer for creating new projects or editing existing projects
LL.Design();

// print object from Designer
LL.Print()
Tutorials
You can also watch our tutorial on YouTube: How to integrate List & Label into a .NET WPF desktop application.


